Adding Images
Posted
#1
(In Topic #1770)

Administrator
Which way, and how?
Adding ImagesThere are two ways to add images to your posts - by uploading the image to Gambas One, or linking to an off-site image. This tutorial will cover both ways.
The first way is to upload your image by clicking on "Attachments" under the editor. This tutorial was created using this image attachment method.

Place your cursor where you want the image to reside.
Next, click the "Browse" button and select the image you would like to upload. Once selected, you will see an options window. Click the "Add" button. The image is immediately uploaded and placed at the location of your cursor.

After each image upload, you will see one image browser/selector added to the bottom.
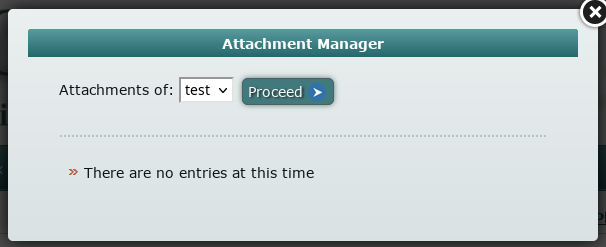
Under the attachment browser/selector is a link to display any images you have already uploaded.
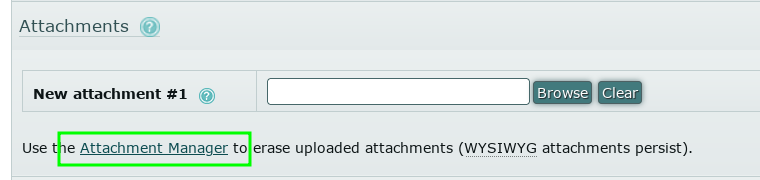
If you have images here, you can select one of those instead.
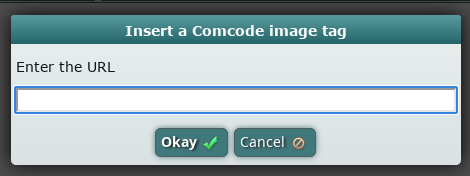
The second way to add an image is to link to an external image source.
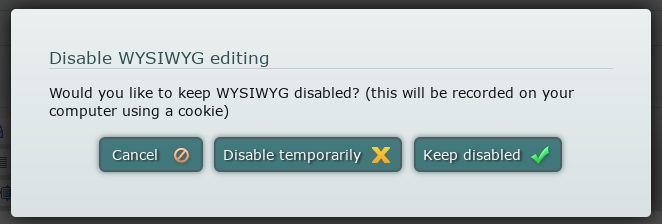
NOTE: You will need to disable the WYSIWYG editor to gain access to add a link. To learn how to switch editors read the FAQ on Editors.
Click the "Add Image" button. NOTE: Your buttons may appear in a different order, and possibly a different number of buttons available to you.

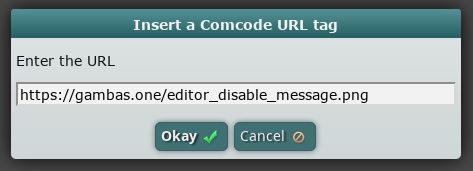
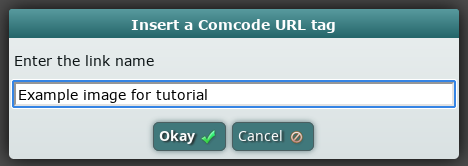
Enter the full URL of the image location. Click "Okay".
Example
Enter a caption for the image. (This is optional.)
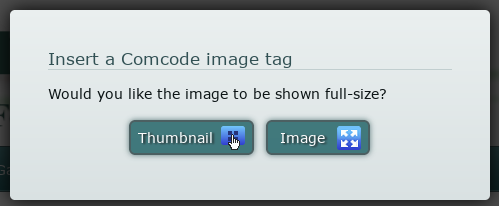
Choose if you want the image a thumbnail or full size.
The outputted result of the image link example above.
sholzy
Gambas One Site Director
To help make creating posts and using the forum a little easier:
Tutorials - Website and forum and Playground
To report bugs in the Gambas IDE:
Official Gambas Bug Tracker
Gambas One Site Director
To help make creating posts and using the forum a little easier:
Tutorials - Website and forum and Playground
To report bugs in the Gambas IDE:
Official Gambas Bug Tracker

1 guest and 0 members have just viewed this.